

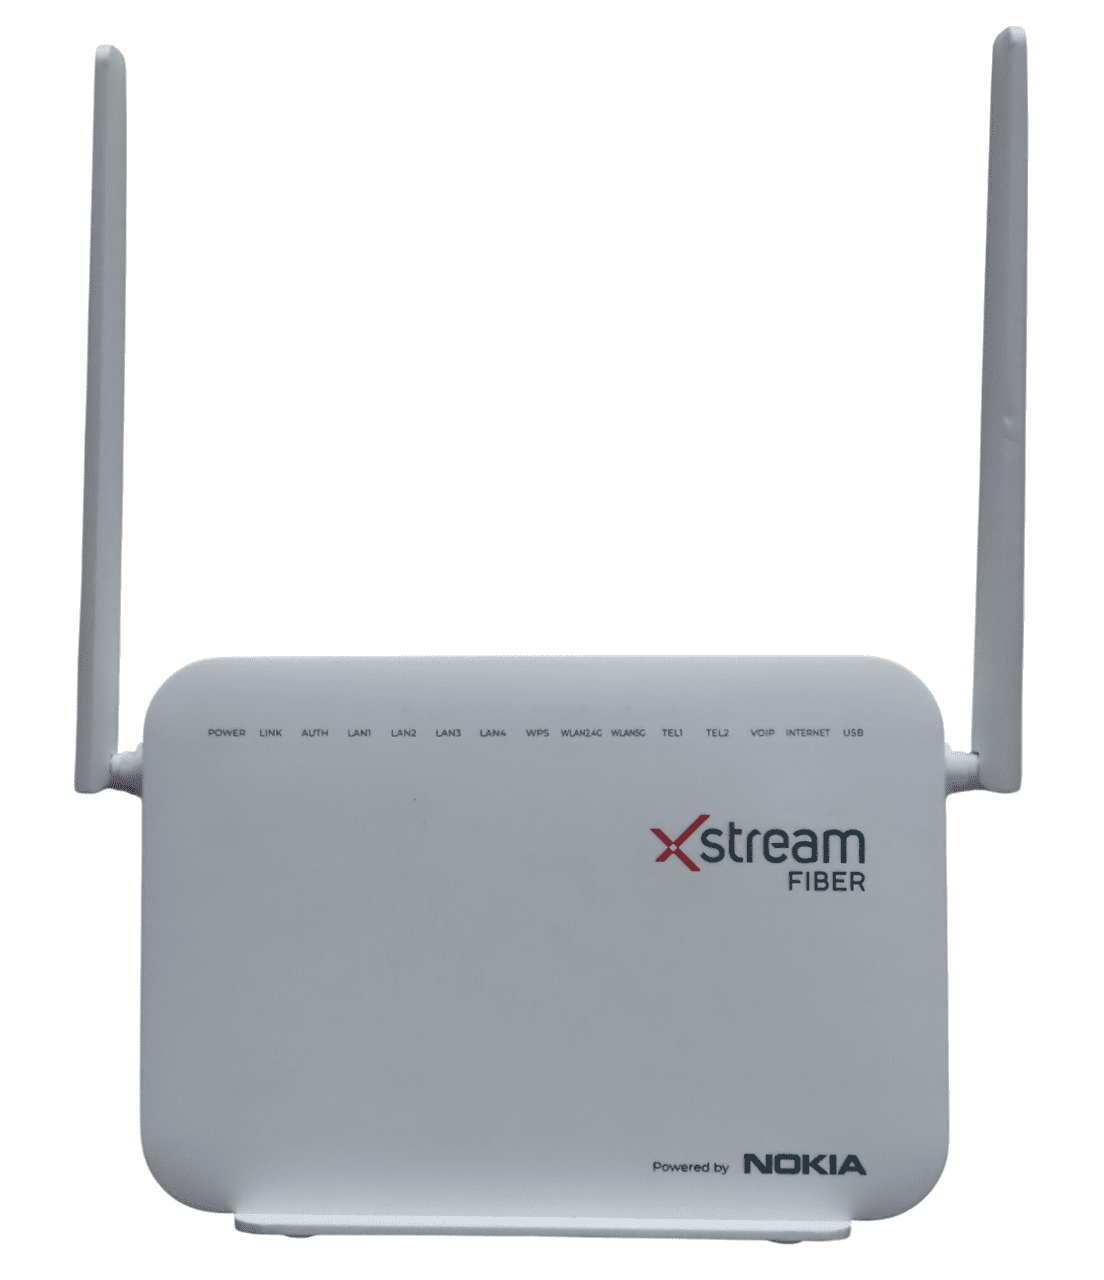
The Nokia G-2425G-A is one of the most common Dual-Band Ontario Network Terminals (ONT) provided by BSNL for its Bharat Fiber (FTTH) connections. It handles both high-speed internet and your landline voice connection.
Here is a comprehensive guide to setting up, configuring, and troubleshooting your Nokia G-2425G-A router.
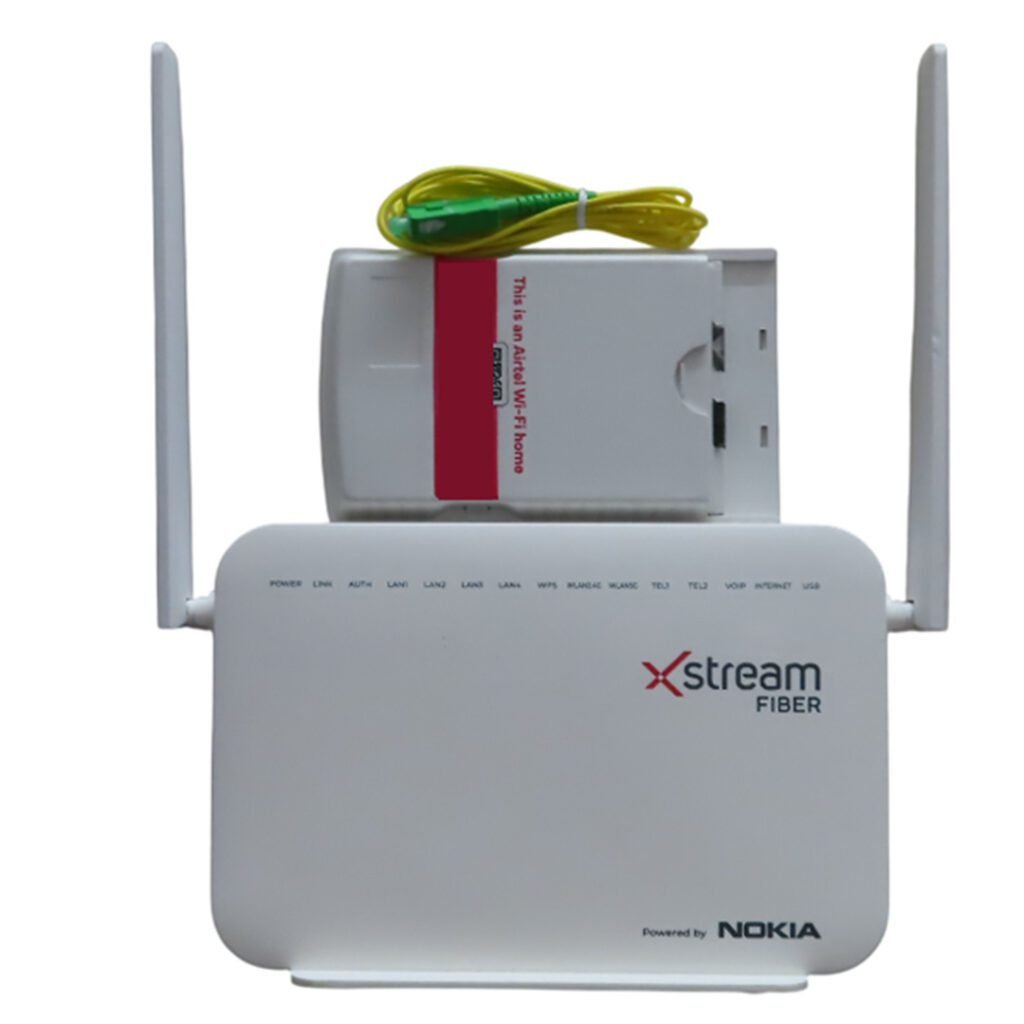
1. Physical Connections & LED Status
Before diving into the software configuration, ensure everything is plugged in correctly:
- Optical Port (Bottom): The green/blue fiber patch cable goes here. Do not bend this cable sharply.
- LAN 1 / LAN 4: Use these to connect your PC or a secondary router. (Note: BSNL often configures LAN 1 for internet).
- POTS (Phone Port): Plug your traditional RJ-11 landline telephone instrument here for the Voice service.
LED Indicator Quick Check:
- Power: Solid Green.
- Link (PON): Should be Solid Green. If it is blinking or off, your fiber line is down or not authenticated by the exchange.
- Auth (LOS): Should be Off. If it is blinking Red, there is a total loss of optical signal (broken wire or exchange issue).
- Internet: Blinking/Solid Green means you are successfully connected to the BSNL servers.
2. How to Access the Router Dashboard
To configure internet or voice, you need to log into the router’s gateway:
- Connect your laptop/phone to the Nokia router via Wi-Fi or an Ethernet cable.
- Open a web browser and type the default IP address: 192.168.1.254 (or sometimes 192.168.1.1).
- Enter the default login credentials (unless changed by your installer):
- Username: admin or AdminGPON
- Password: admin or ALC#FGU or the unique password printed on the sticker at the back of your router.
3. Configuring BSNL Fiber Internet (PPPoE)
If your router was reset and you need to reconfigure the internet:
- Navigate to Network > WAN.
- Select the existing internet profile or create a new one.
- Set the following parameters:
- Connection Type: PPPoE
- Service List: INTERNET
- VLAN: Check Enable.
- VLAN ID: This is area-specific. (Common BSNL internet VLAN IDs range from 2900 to 3000, or 115. Ask your local LCO/BSNL technician for your exact exact VLAN ID).
- Username: Your BSNL FTTH username (usually looks like stdcode_username@ftth.bsnl.in).
- Password: password (Default for almost all BSNL connections).
- Click Save/Save & Apply.
4. Configuring BSNL Voice (VoIP / Landline)
BSNL voice runs on a separate VLAN. If your landline phone has no dial tone, check these settings:
- Go to Network > WAN and create/edit the Voice profile.
- Encapsulation: IPoE (or DHCP/Static depending on your region).
- Service List: VOICE (or VOIP).
- VLAN: Enable.
- VLAN ID: Area-specific. (Commonly 1830 or 1849).
- Navigate to Application > Voice or VoIP settings.
- Enter your SIP Server details provided by BSNL (e.g., kl.bsnlftthvoip.in for Kerala, dl.bsnlftthvoip.in for Delhi, etc.).
- Enter your Outbound Proxy and Registrar Server addresses.
- Under User Account / Line Configuration:
- Account/Phone Number: Your 10-digit FTTH number starting with ‘+91’ (e.g., +91442xxx….).
- Password: Provided by BSNL (often default or specific to your account).
- Save the settings. Check the Application Status; the voice status should change to Registered.
5. Optimizing Wi-Fi Settings (2.4GHz & 5GHz)
The Nokia G-2425G-A is a dual-band router. To get the best speeds, configure both bands under Network > Wireless (2.4GHz / 5GHz)

Recent Comments